How to create a custom car model
Creating a custom 3DRacers car model is really easy, thanks to the Custom Car Template.
While you can create a new model with every 3D modeling software, with the template you won’t have to worry about the mechanical parts measures, footprints and fittings:
just load your custom design and with few easy steps you’ll be able to transform it to a functional (and running) 3DRacers.
Other sections
Existing Car Designs - Documentation - App Guide - Online Editor - Coding Guide
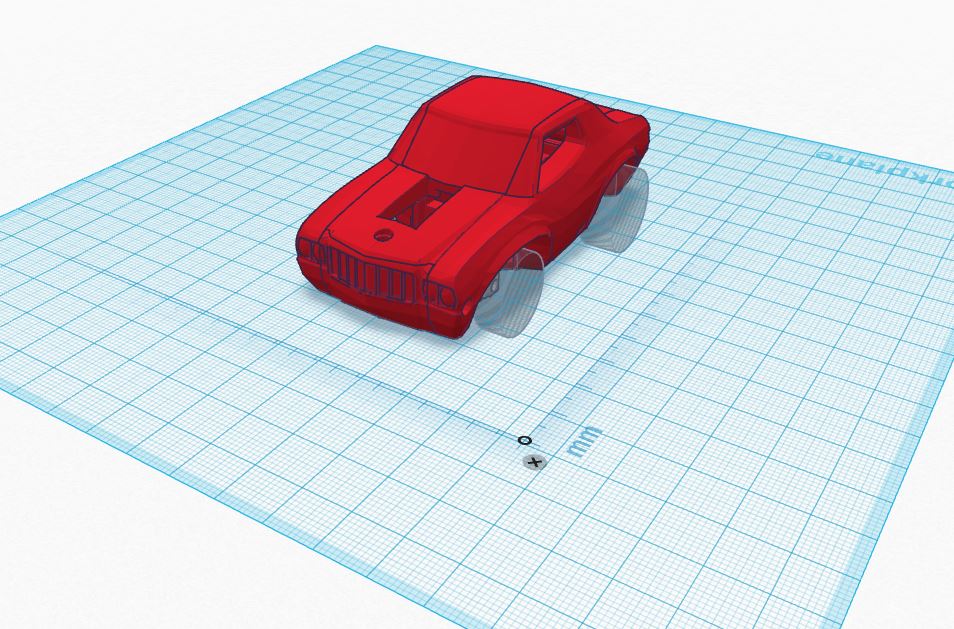
Preparations
Save you custom car model (withouth the wheels) in STL format, and open the Custom Car Template. Free registration to Tinkercad is required.
Import your model inside Tinkercad via the Import panel from the Right.
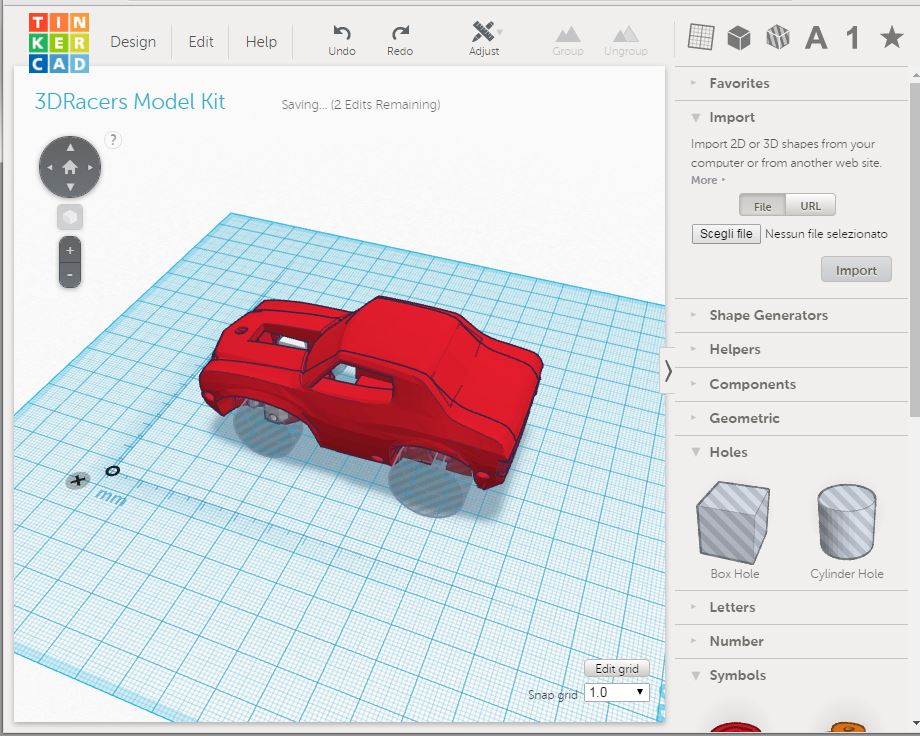
To start, it will be easier to use a model that has a similar aspect ratio of a 3DRacers, and that will have the same wheels distance from R/L and F/B.
How it works
You car model will be imported as a solid, and we’ll slice it in 6 parts. To create a 3DRacers we’ll use the Constructive solid geometry of Tinkercad to easily add holes and fittings.
In short, Tinkercad has only two operations: adding and subracting solids. When grouping a set of solids, the holes will be subracted from the geometry.
Splice the Laterals
Click on the left lateral part and raise it to the top and away from the other parts to work with it easily. You can then put it back by clicking on the Z value on the Ruler and inserting the value 0.
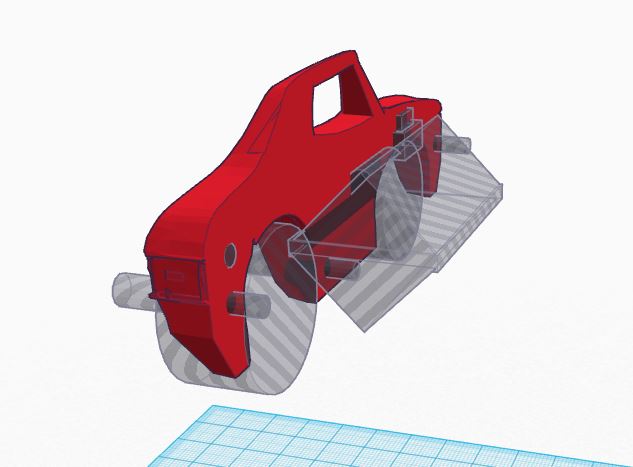
By clicking on the Ungroup button on the top, you can see the holes that define the screw holes and Pilot board fittings:
Now, if you double click on the lateral part you will see the original model geometry:
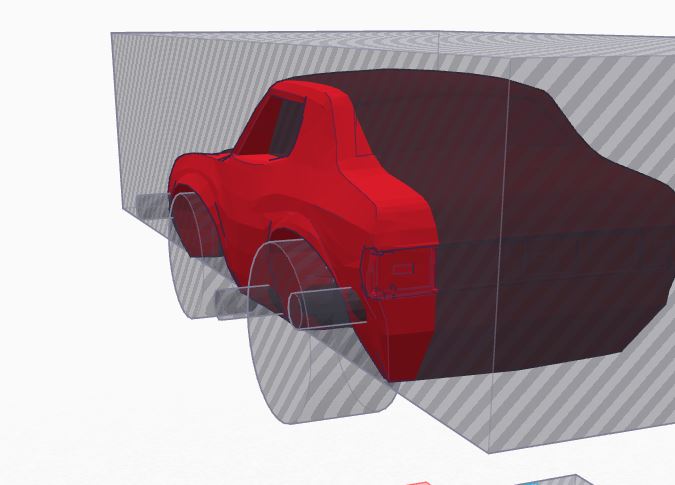
To replace it with your car model, simply ungroup it, position your model and then re-group it two times.
Probably your car model will have a different wheel distance than the 3DRacers: this kind of poly-modeling isn’t possible in Tinkercad, but you can use for example Blender with the Area Selection tool to easily move the wheels areas.
The Top and Hood
Move the Top, and ungroup it. You can now see that the top doesn’t have only Hole parts, but also some other solids, like the orange hinge.
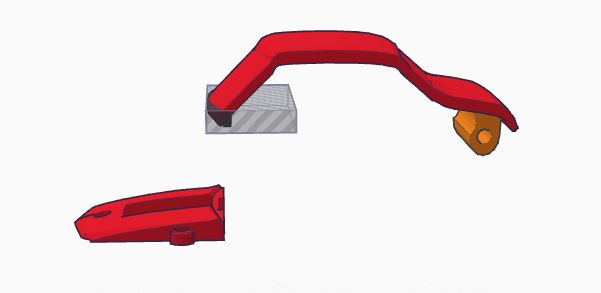
Ungroup again the top part, and you’ll see that it contains two identical copies of the same object: it is used to carve the space inside the car.
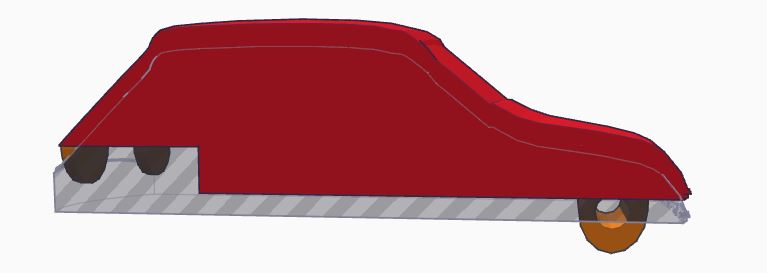
Yon can simply delete the hole part, by selecting it and clicking canc. We’ll recreate it later duplicating the main part.
Now you can ungroup the part again, to show the final content:
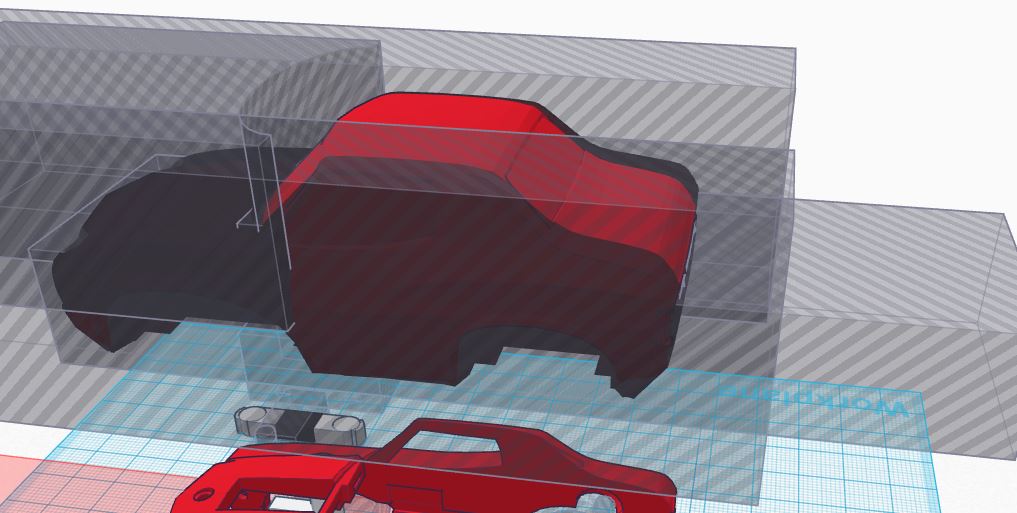
Replace the model with your own, adjusting the front curve part accordingly to follow the hood of your car.
You can then group it and duplicate it by clicking Alt while moving it on the Z axis: move it 2mm to the bottom and transform it to a hole. In this way we have carved the inside of the car.
Now you can proceed to the Hood part: ungroup it two times to unveil the car model that you need to replace:
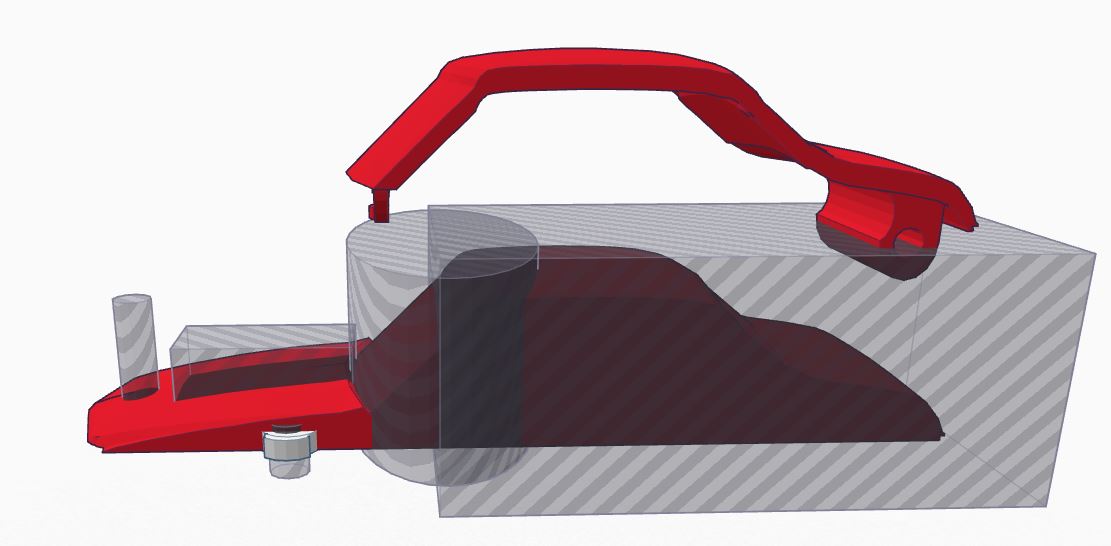
Change the front curve hole accordingly to your model. Alternatively, you can cut the profile of the hood in your CAD editor.
The Bottom
The bottom part is composed by two parts: the rear and front bumper. You can customize them like the previous parts.
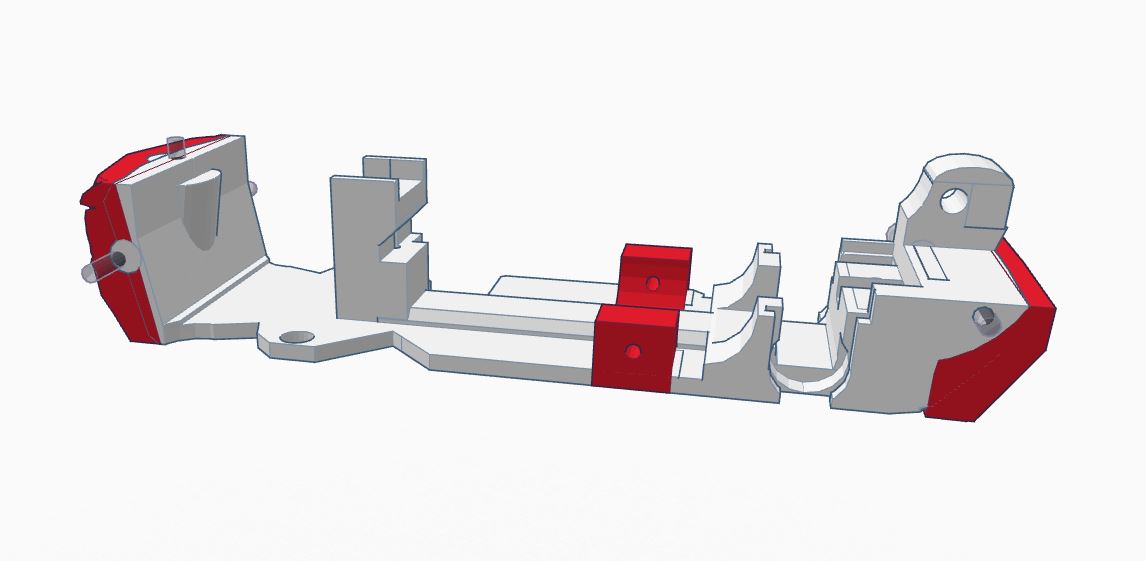
However, in this part there are also two central screw supports that can be moved easily based on your model requirements, but remember to move also the corresponding screw holes on the lateral parts.
Further customizations
This technique allows to easily create new models, provided that they have the same aspect ratio of the template. This will allow also to re-use all the standard small parts like the steering brackets and the wheels.
To create more complex vehicles, you can use this template as a starting point and to extract the measures of the mechanical parts.
